Since my background is in IT and communications, I was asked a while ago how best to build a low-cost, compact SVXLink node. Not a rack full of gear bolted together over months, but something you could point at and say “here, this is a node, plug it in.”
That question is what turned into this build — a fully self-contained SVXLink node, everything packed into a single 3D printed enclosure designed specifically for the purpose. The goal was to keep the parts list short and the cost low, while still ending up with something reliable enough to actually run unattended. Inside the box is a Raspberry Pi as the brain, running SVXLink itself, a small and inexpensive USB sound card (one of the common CM108-based dongles) handling the audio interface to the radio, a relay powered and switched directly from the Pi’s GPIO pins to key PTT, galvanic isolation between the radio side and the Pi to keep noise and ground loops out of the audio path, and a terminal block for clean, solid connections to the radio itself. Nothing exotic — that was the point. Every part is something you can source easily and cheaply, and none of it requires you to already own a stack of radio-specific interface hardware.
Driving the relay straight from GPIO rather than going through a USB relay or a more complex PTT circuit keeps the design simple and removes a failure point. Pairing that with a CM108-style sound card for audio is a well-trodden path in the SVXLink world, and using a cheap, generic one keeps the total cost of the node down without giving up reliable audio. The galvanic isolation earns its place too — without it, ground loops between the radio and the Pi’s USB/audio path can introduce hum and noise that’s a pain to chase down after the fact. Building it in from the start avoids that entirely.
Once the general layout was clear, the actual challenge turned out to be less about the circuit and more about two things: sourcing the right components at the right price, and getting the enclosure itself right. “Cheap and functional” sound cards, relays, and isolation boards vary a lot in quality between listings that all look identical in photos, so finding the specific parts that actually performed well — and kept doing so — took some trial and error. The enclosure was its own puzzle. A 3D printed box sounds simple until you’re routing five or six cables through it cleanly, need real screw mounting points that won’t strip out over time, and want a layout where every board is accessible without becoming a tangle the moment you open it up. Getting that balance — tidy cable runs, solid fixing points, and a design that could realistically be printed by anyone with a normal 3D printer — took more iteration than the wiring did.
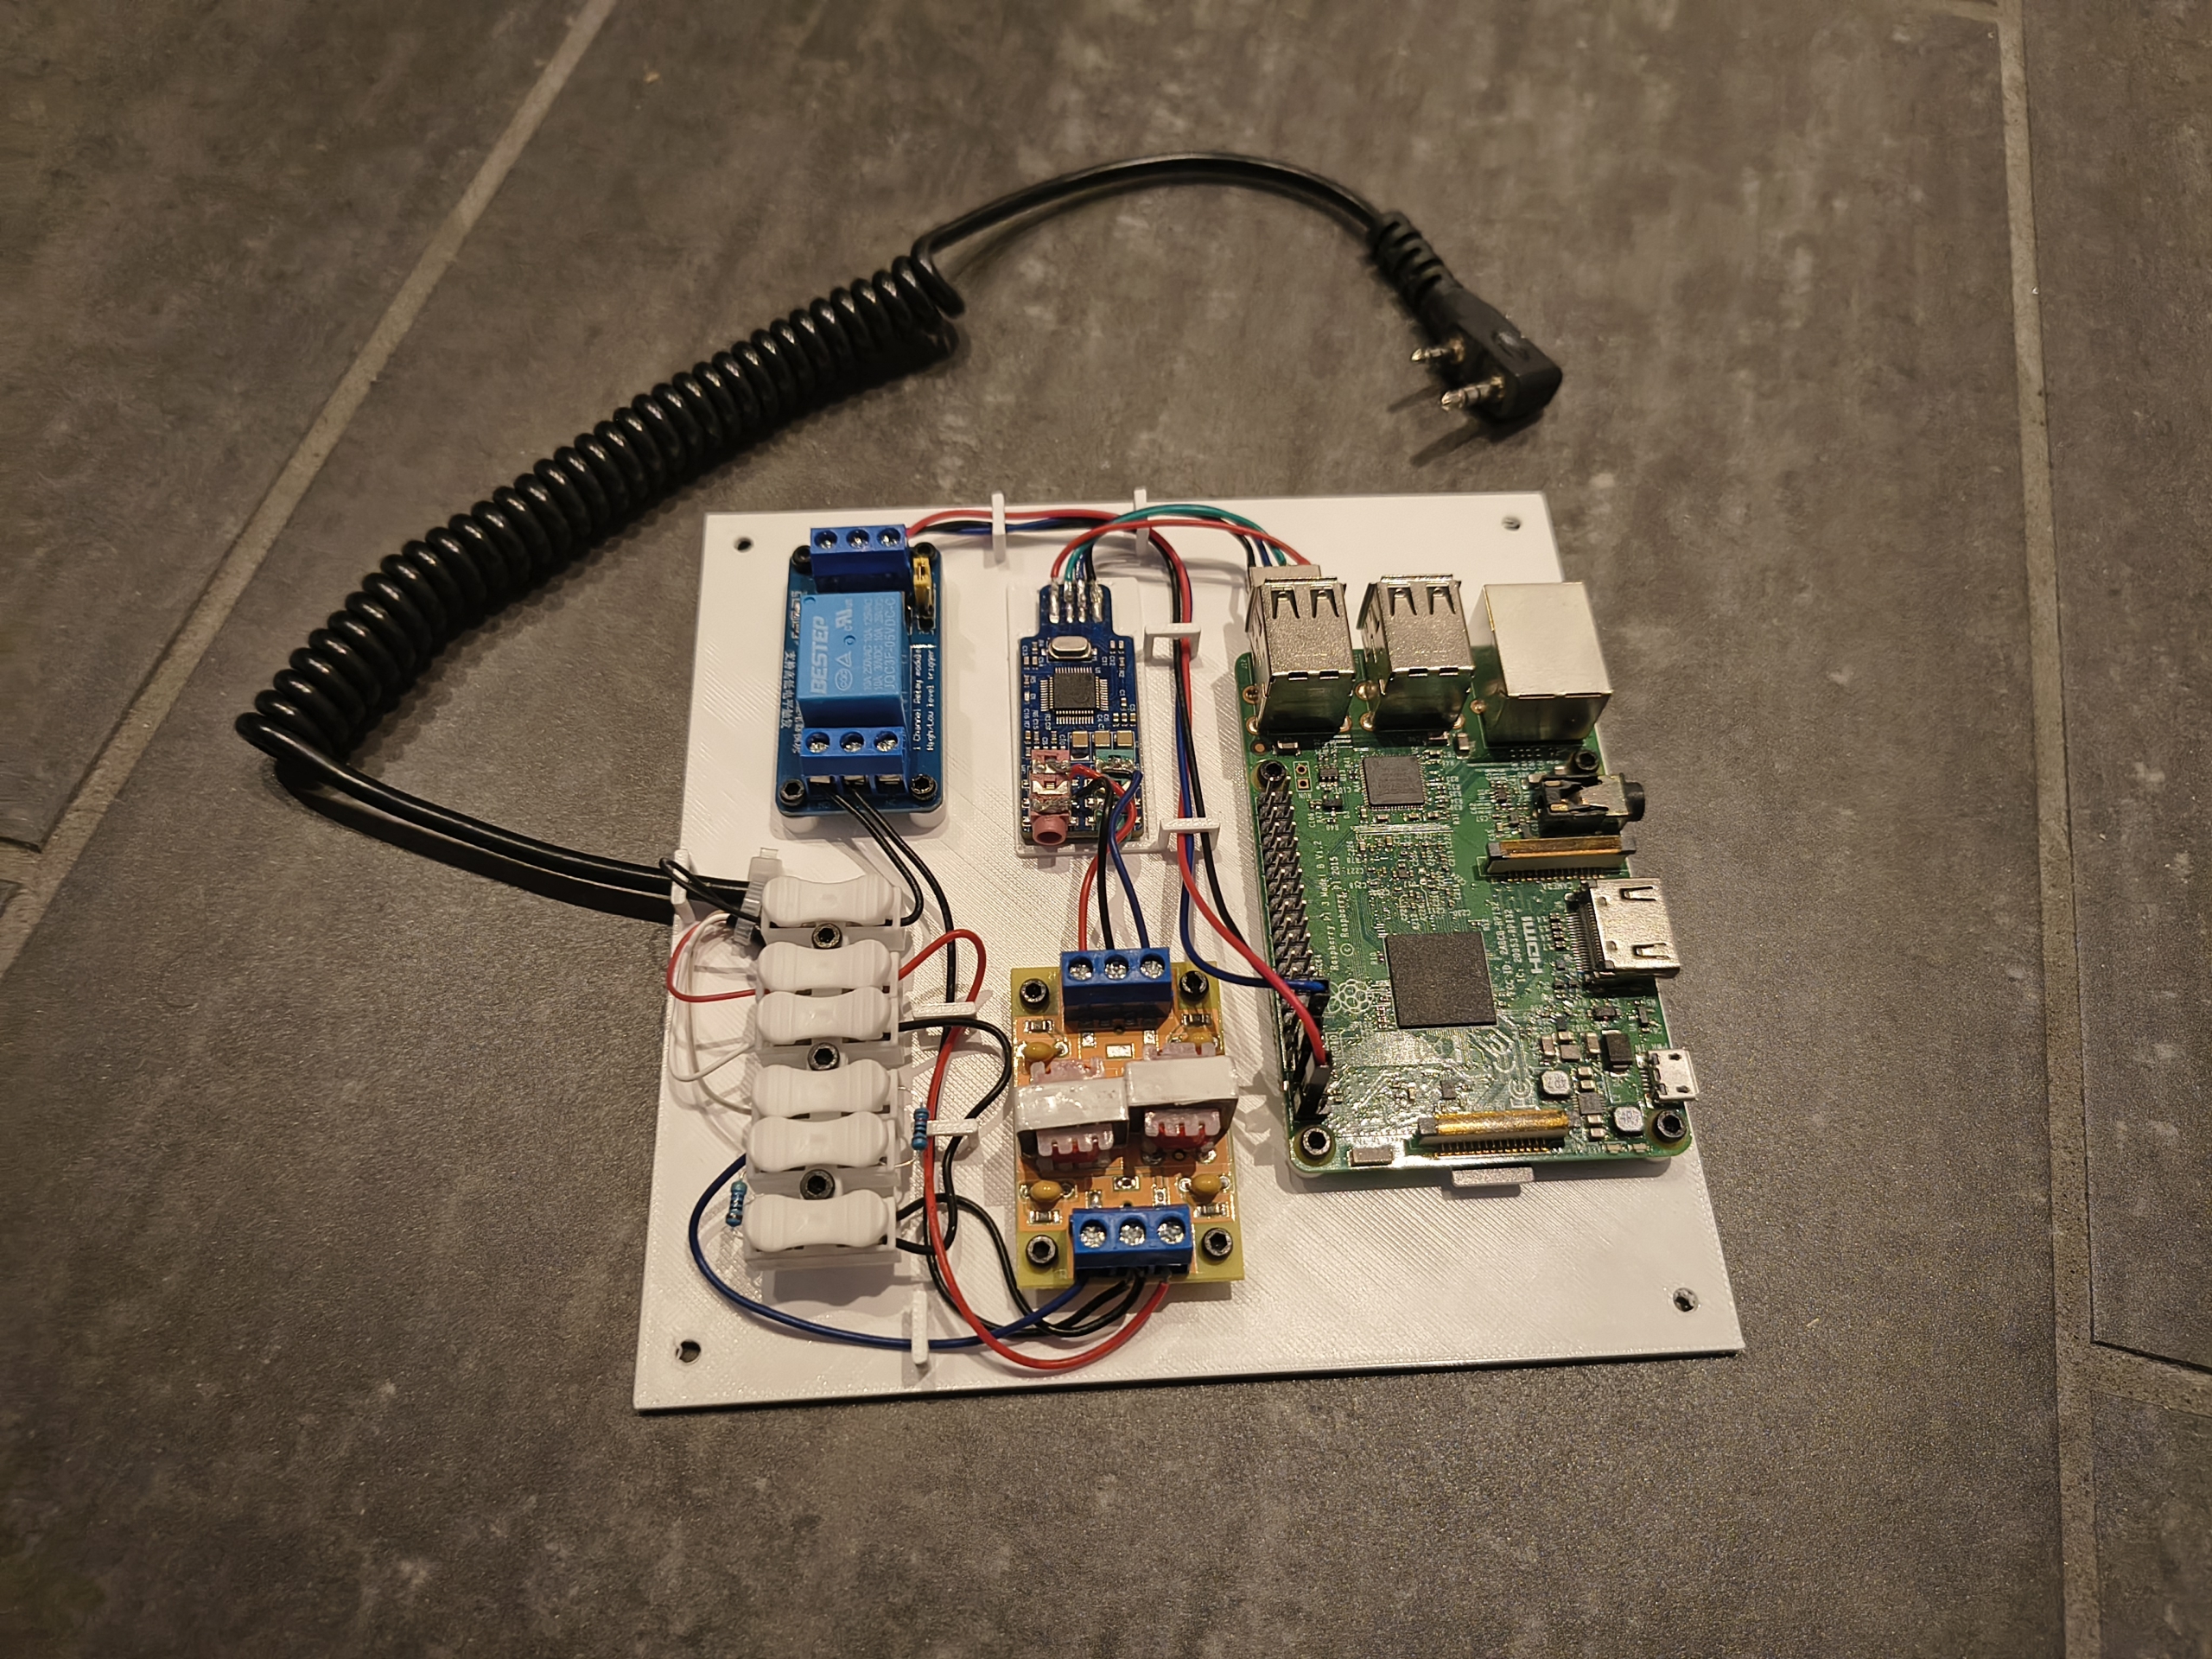
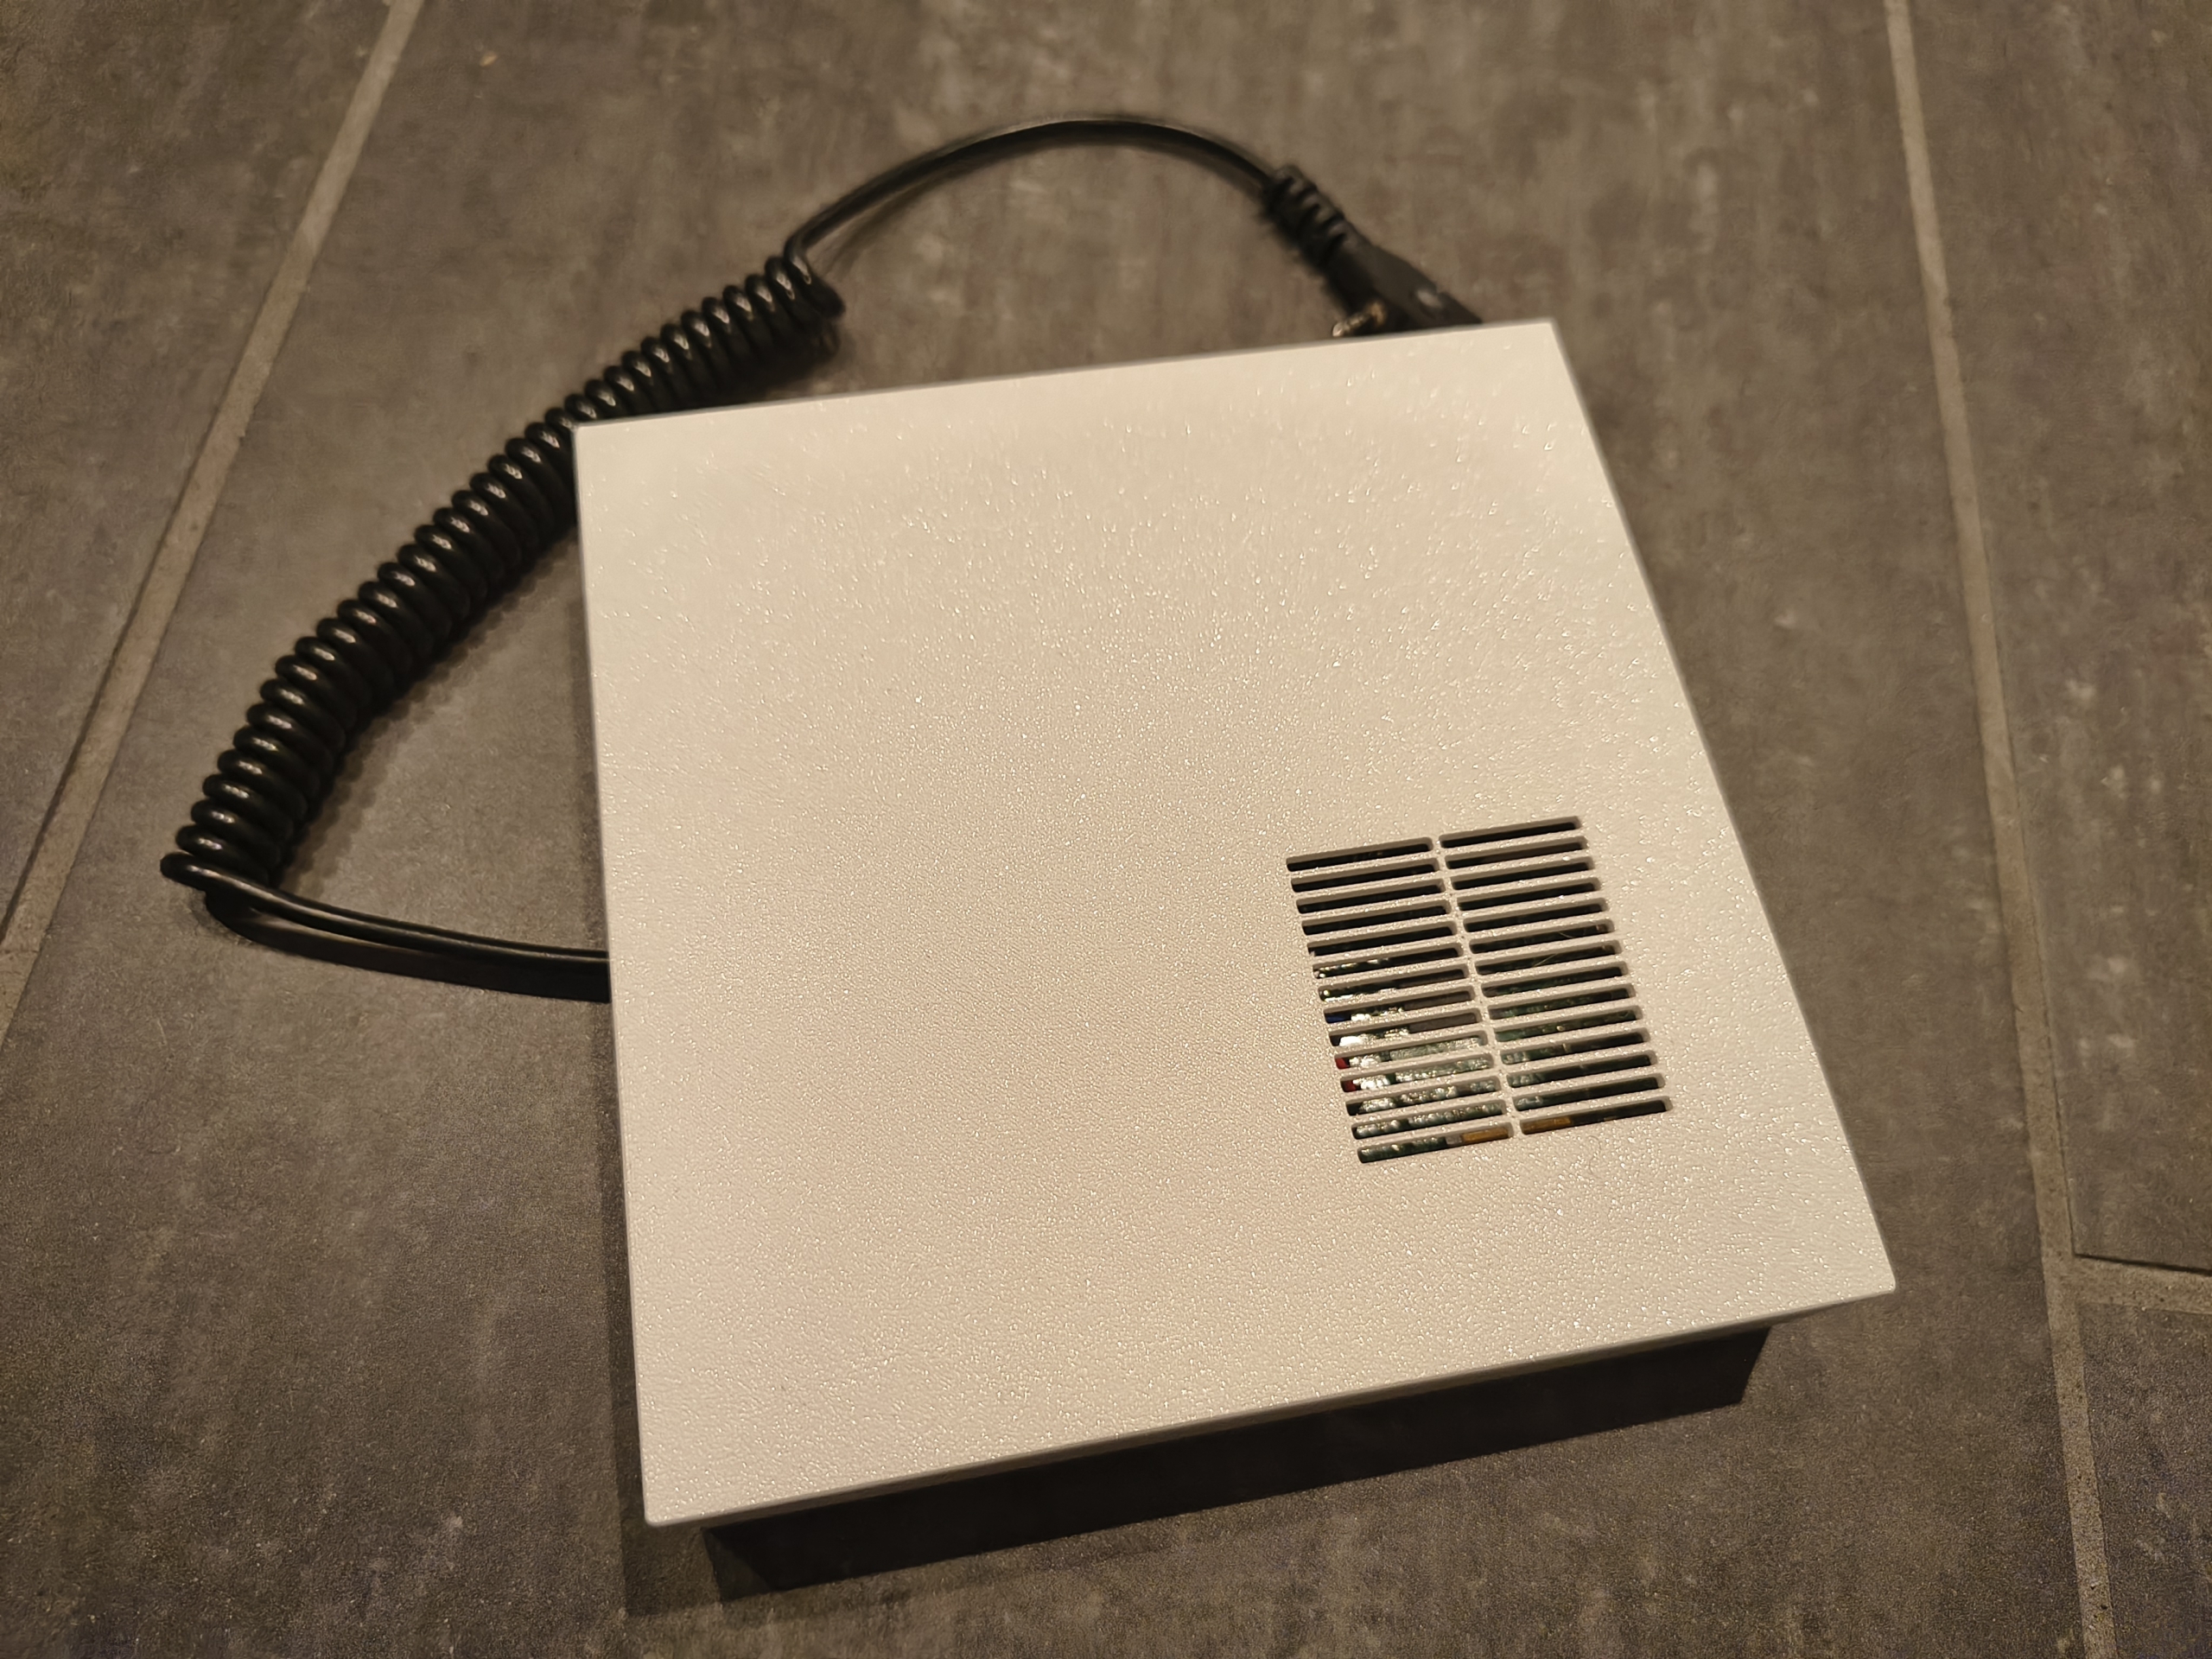
What came out of it is a node that’s genuinely simple to replicate: order a short, cheap parts list, print the enclosure, wire it up, and flash SVXLink onto the Pi. No custom PCB, no hard-to-source interface board — just an intentionally minimal design built to answer the question that started it all: how do you build a complete node, simply and cheaply, without cutting corners on reliability?
I designed the box in Onshape. Feel free to copy my design and modify it to your own needs. You’ll find my design on this link.